Craft walkthroughs that clarify code
Annotate makes it easy for devrels, educators, and engineers to explain code step-by-step. Write, edit, and publish code walkthroughs. Embed directly inside your application.
Learn OAuth 2.0 by Building Your Own OAuth Client
Alex YakubovskyOAuth is a standard protocol that allows users to securely share their information, such as email addresses from their Google account, with your website's server, without exposing their Google login credentials.
This guide will show you how to create an OAuth client by implementing Login with Google using TypeScript and Express. If you're unfamiliar with these technologies, don't worry! This walkthrough is designed to be straightforward, guiding you through each step of integrating OAuth. Get the full code sample on GitHub.
At a high level, here's how OAuth works:
User Chooses to Log in with Google: A user visits your website and clicks on a Log in with Google button.
Your Website Asks Google for Permission: Your website redirects the user to Google with a client ID that identifies your website to Google.
Google Seeks User Consent: Google displays a consent screen asking if the user agrees to share their Google details (like email and name) with your website.
User Consents and Receives a Code: Upon user agreement, Google redirects the user back to your website with an authorization code in the URL's query parameter.
Exchange Codes with Google: Your website's server sends this authorization code and a client secret to Google, verifying your website server's identity. Google then sends an access token back.
Your Website's Server Gets the User's Info: With this access token, your website's server can now ask Google for the user's information, like email and name. You then use this data to authenticate the user into your service.
Setting Up Your OAuth Credentials
To start, you need Google to issue you a CLIENT_ID and CLIENT_SECRET. These tokens confirm that requests are originating from your server. Visit Google's authentication setup guide for detailed steps on obtaining these tokens.
It's important to keep your CLIENT_SECRET secure and only accessible within your server's code. A best practice is to use environment variables to manage credentials, avoiding hard-coded values.
With the credentials set up, you can start implementing the OAuth client!
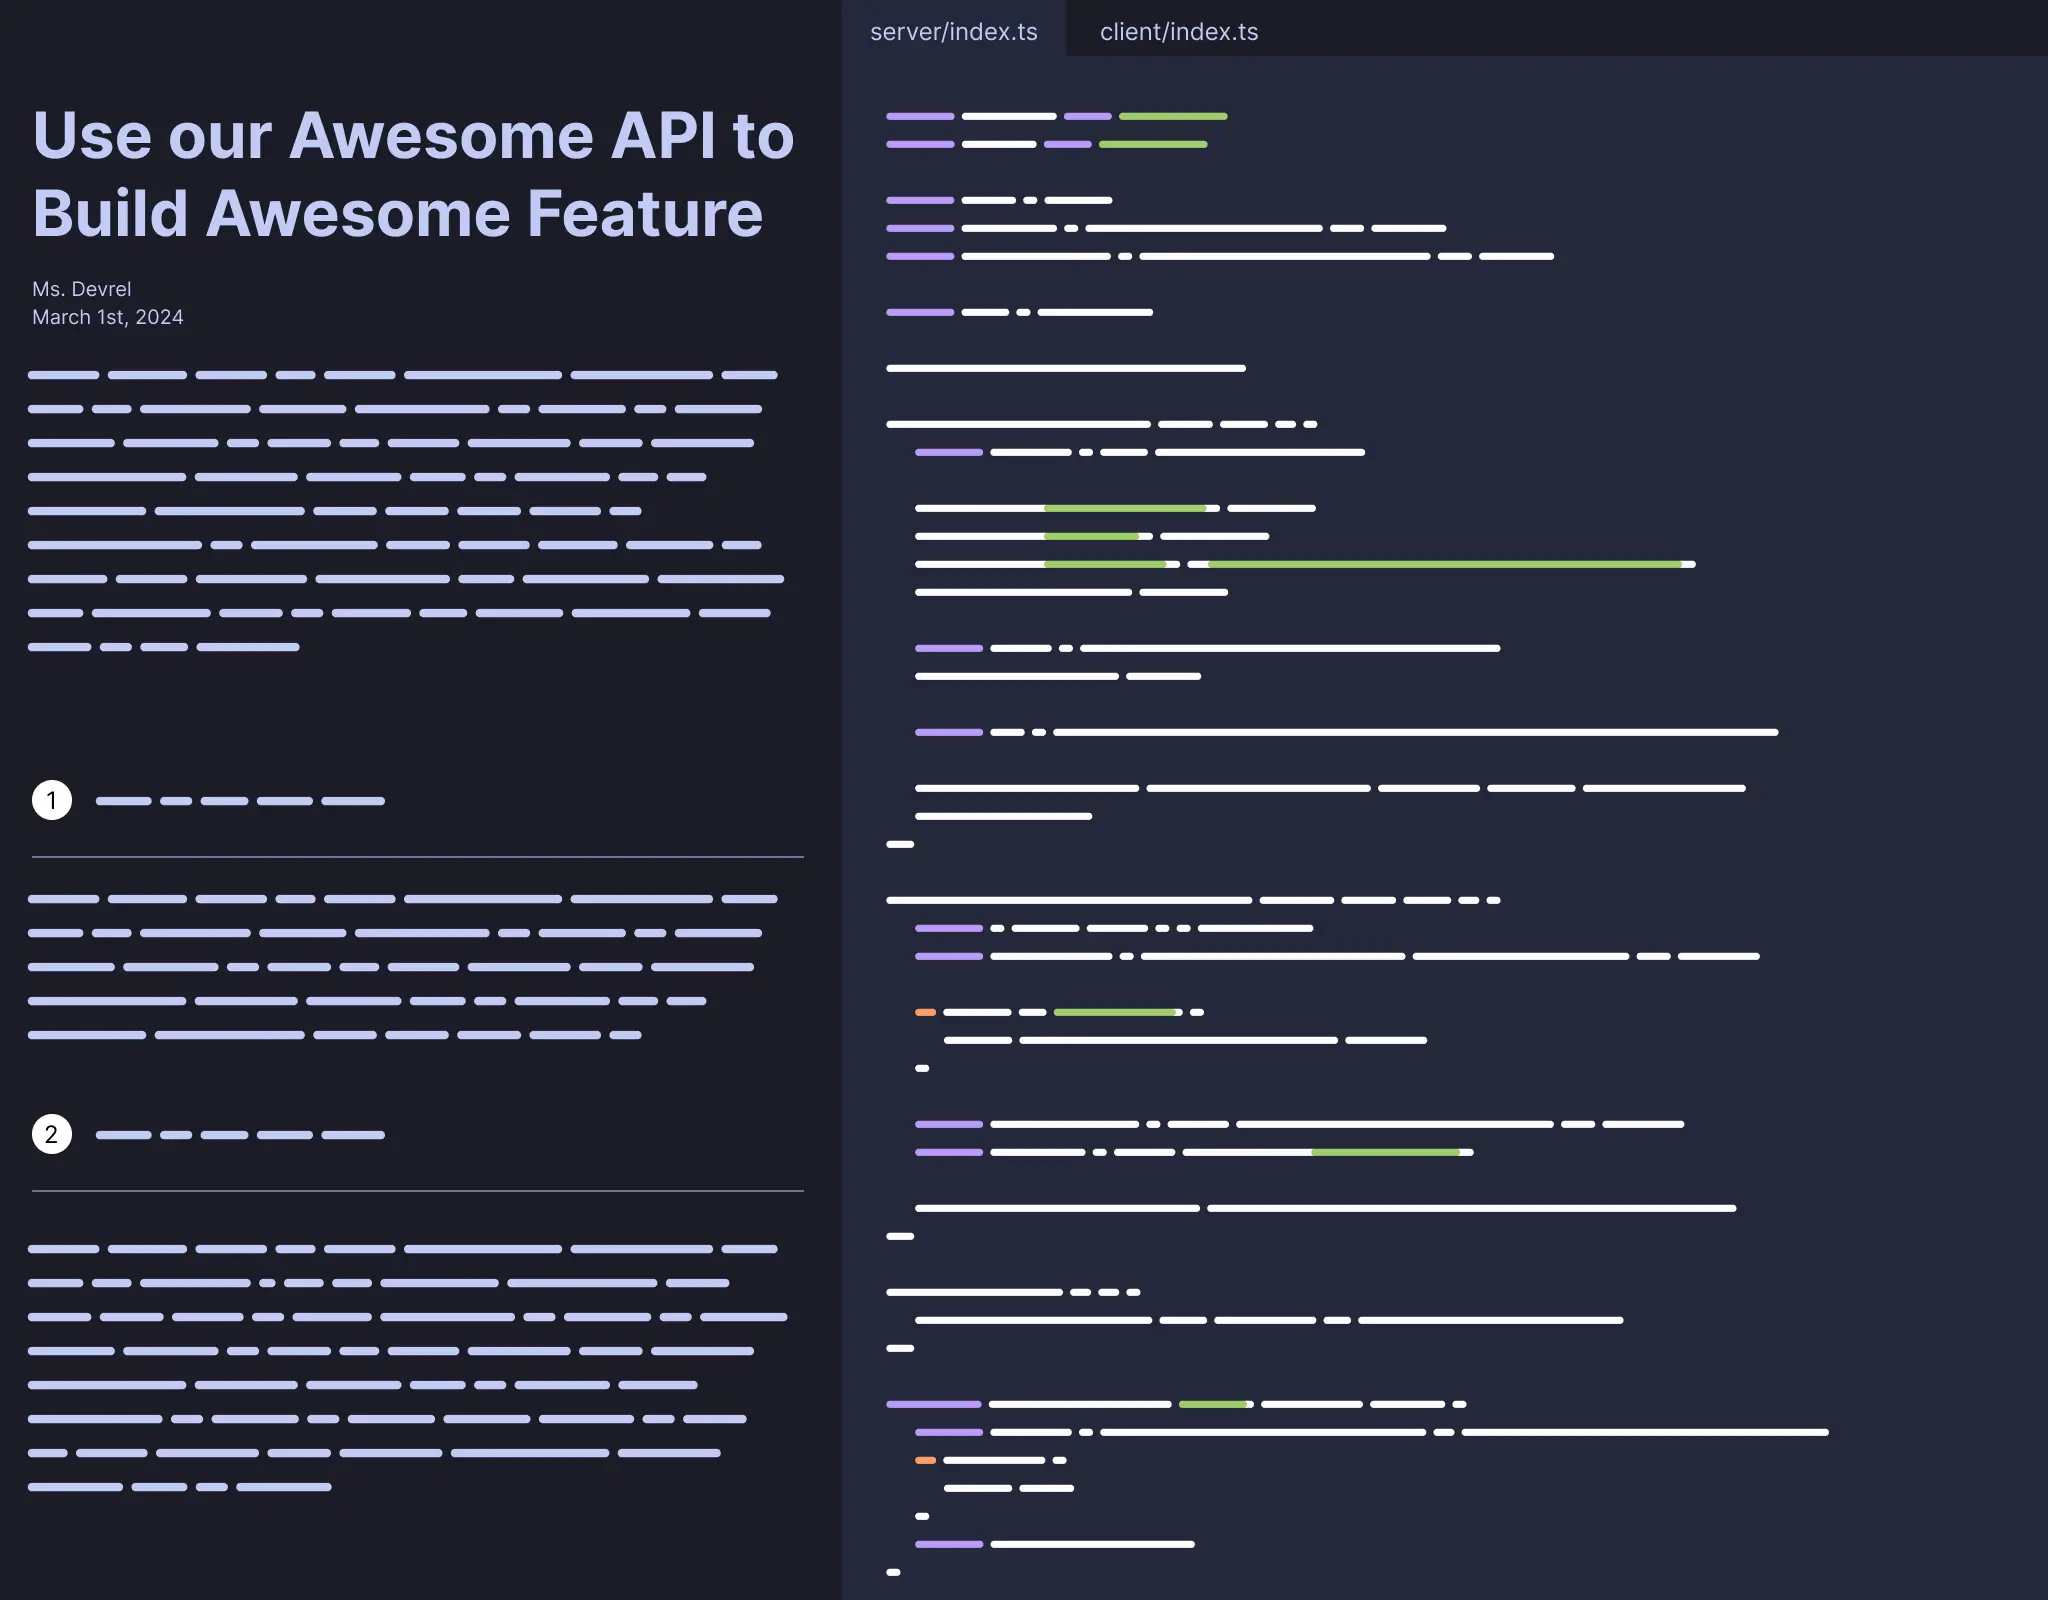
User Chooses to Log in with Google
When users visit your site, they'll see the option to Log in with Google. This feature is implemented through a straightforward HTML anchor (<a>) element, directing the user's browser to /oauth/google.
Redirecting to Google for User Consent
When the web browser requests your /oauth/google endpoint, your server responds by redirecting the user to Google. This redirection requires appending specific query parameters (?key=value) to the URL. Below, each parameter is explained.
The response_type=code parameter indicates that you're using the Authorization Code grant type, suited for server-based applications like this demo. OAuth also supports other grant types for different scenarios, such as machine-to-machine communication and single-page applications without a server.
The parameter client_id=<your client id> tells the OAuth provider what application is initiating the request.
The redirect_uri=http://localhost:3000/oauth/google/callback parameter specifies where Google should redirect users after they've logged into their Google account and consented to share their information with your application. This URL carries additional details necessary to finalize the OAuth process, which you'll see later on.
You must register your redirect URIs in Google's developer console (where you obtained your CLIENT_ID and CLIENT_SECRET). This step prevents attackers from exploiting the OAuth process to gain unauthorized access to or redirect users' sensitive information.
The scope=email parameter specifies the data your server intends to access about the user, in this case, their email. When users are redirected to Google, they'll be asked to consent to share this information with your service.
Google offers a range of scopes for accessing various services, including reading the user’s emails. Be aware that requesting access to sensitive data, such as the user's emails, might require your service to undergo an audit by Google.
state is an optional query parameter that can hold any string value, but is typically set to a randomly generated string for a security check. When users are redirected back to your redirect_uri, this parameter comes back with the same value originally sent to Google. Your server then checks if this string matches the one it originally sent. If they don't match, the OAuth process is stopped. This step protects against Cross-Site Request Forgery (CSRF) attacks by asserting that your website (rather than an attacker's) initiated the OAuth flow.
Next, construct the URL for redirecting the user to Google's authentication page. By setting the Set-Cookie header, you store the state variable as a cookie in the user's browser. When Google redirects the user back to your website, you'll verify that the state stored in the cookie matches the state that Google includes in the query parameters.
Google Seeks User Consent
The user is now at Google's consent screen, where they choose their Google account and agree to share the data specified by the scope parameter from before. Upon confirmation, Google instructs the browser to redirect to the redirect_uri you specified, appending code and state as query parameters to the URL.
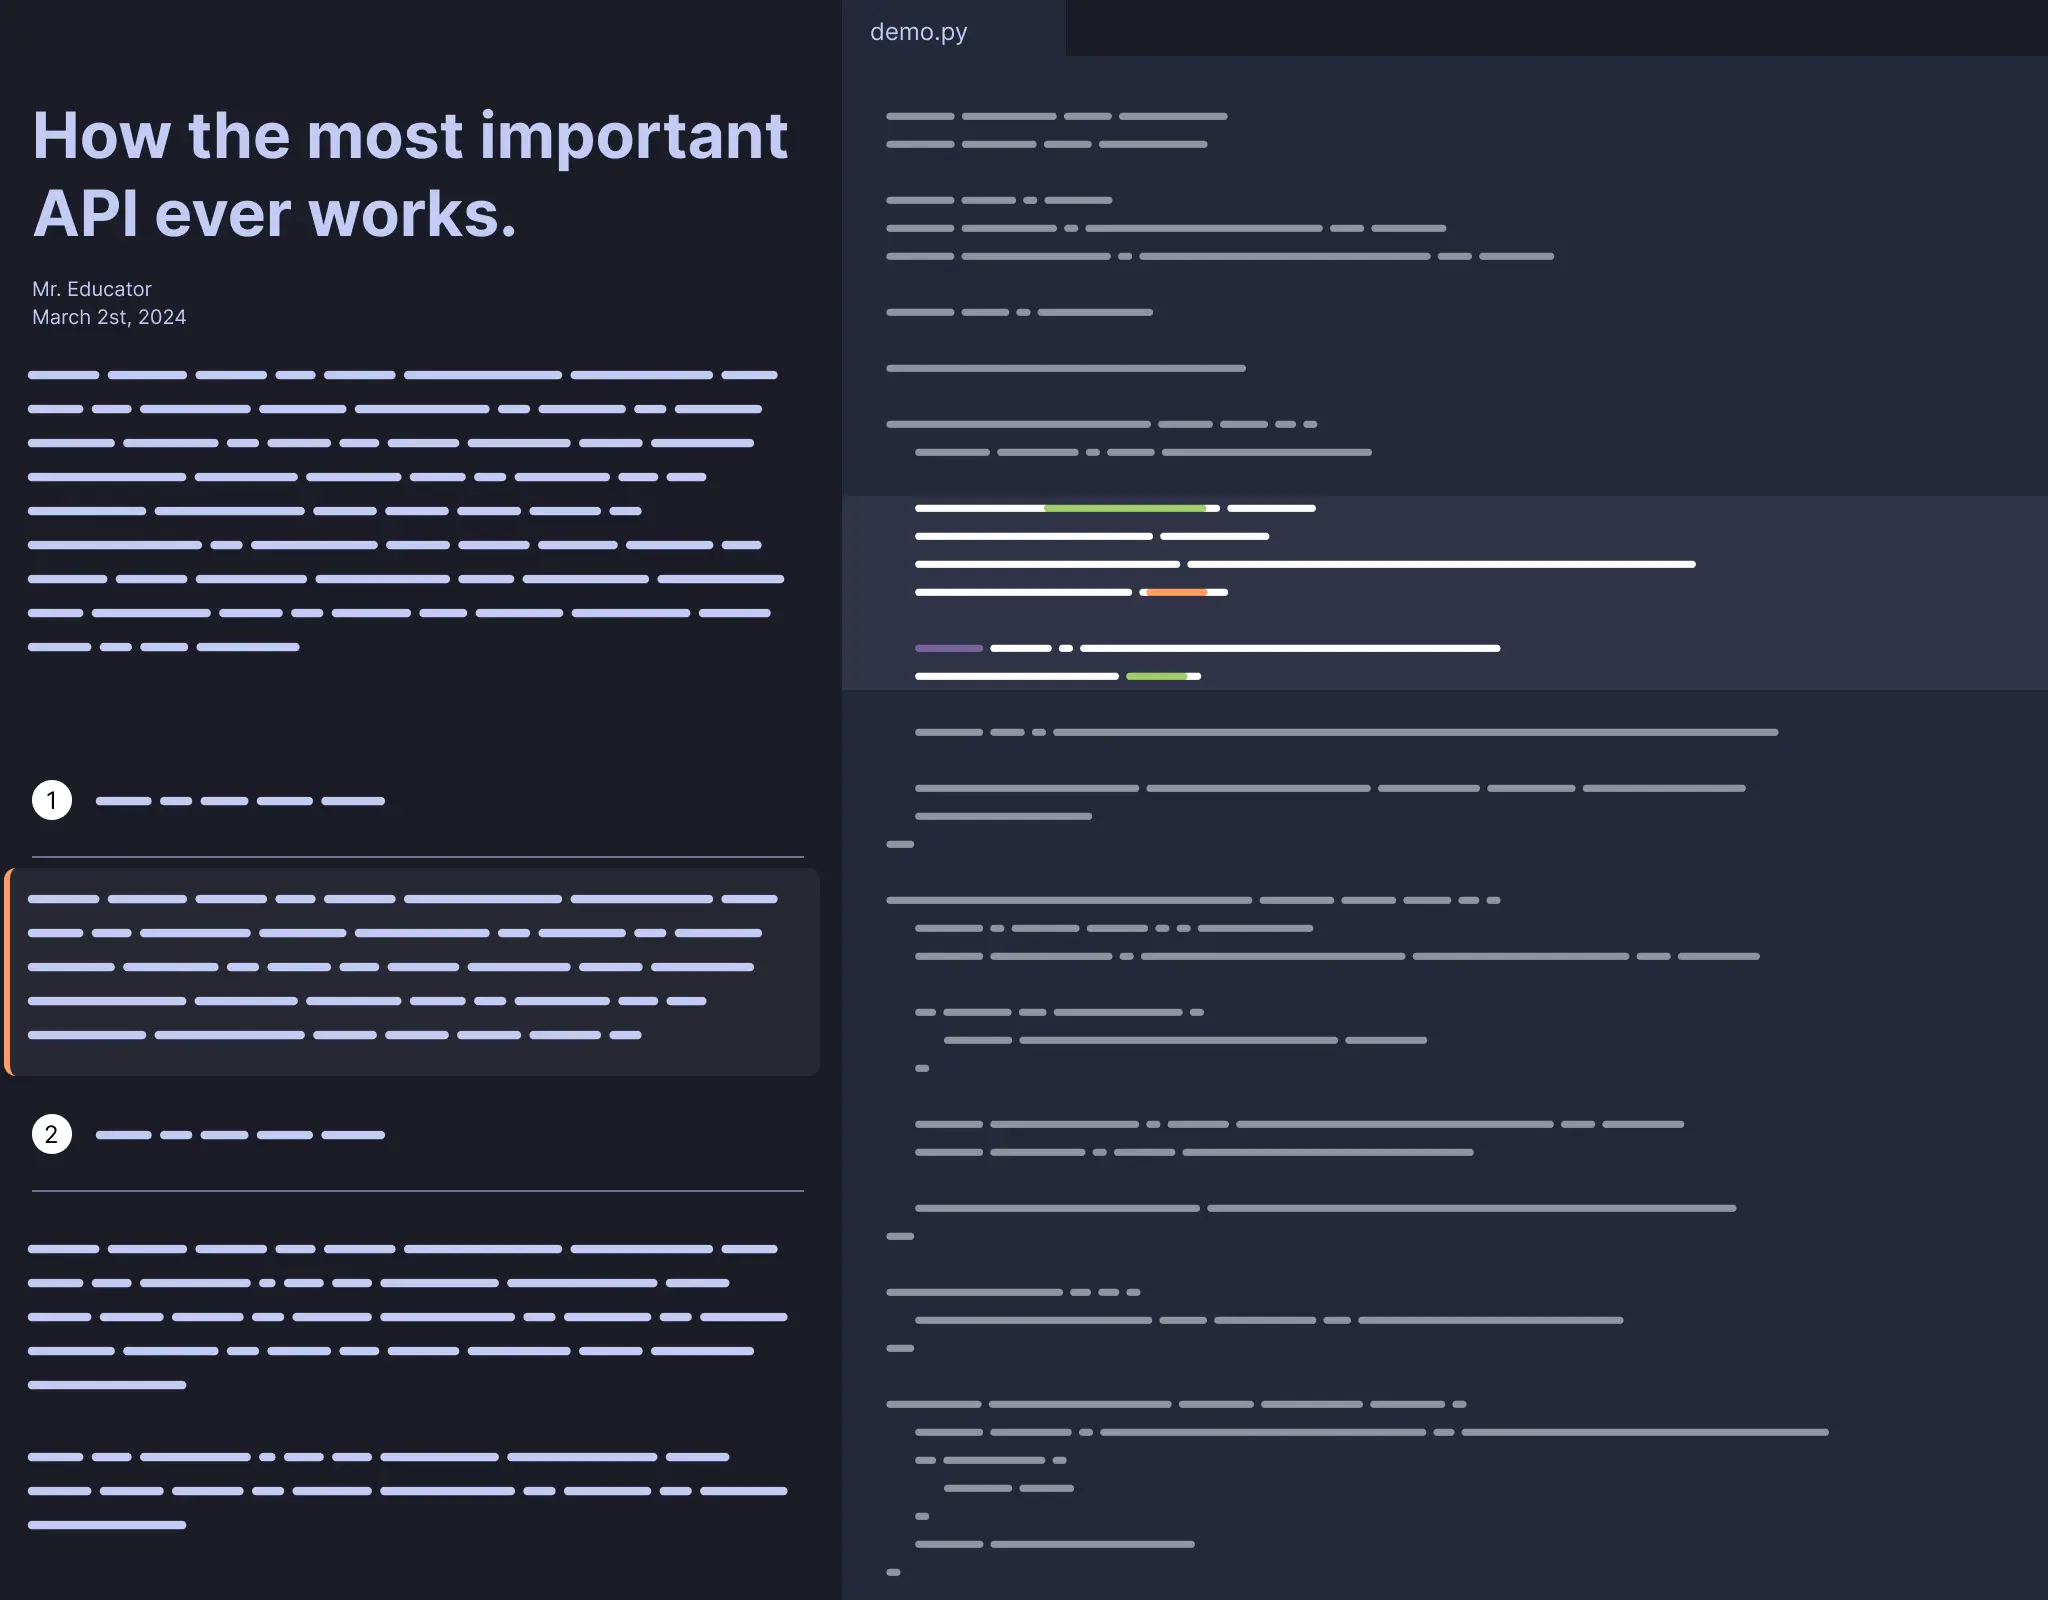
Exchanging Codes with Google
The browser redirects to http://localhost:3000/oauth/google/callback and makes a call to your /oauth/google/callback endpoint. Here, you extract the code and state from the query parameters. You then check that the state returned by Google matches the state you initially generated, ensuring the request's integrity.
Following this verification, use the exchangeCodeForToken function to swap the code provided by Google for an access token.
To make the exchange, you make a POST request to Google's token endpoint; https://oauth2.googleapis.com/token. Below is an explanation about each part of the request.
The token endpoint requires the request body to be in application/x-www-form-urlencoded format, which is structured as key1=value1&key2=value2, mirroring the format of URL query parameters. Using new URLSearchParams({...}).toString() simplifies the creation of this formatted string.
grant_type=authorization_code: This parameter tells Google of your intent to exchange the previously received code for an access token.
code=<code received from Google>: The code you received from Google in the request.
redirect_uri=http://localhost:3000/oauth/google/callback: As with the initial request to Google, you include the redirect_uri parameter again. Google verifies that it matches the original redirect_uri used when the code was issued, serving as an additional security check. It's important to note that this request does not attempt to redirect the user to redirect_uri; the parameter is only used for verification purposes.
client_id=<your client id> and client_secret=<your client secret>: Your server identifies itself to Google with the client_id and confirms its identity by including the client_secret. This lets Google know that the request comes directly from your server, not an imposter's.
You may wonder why the client_secret wasn't part of the initial user redirect to Google's consent screen. Including it in the URL would expose our client_secret to users, risking its capture by attackers. An attacker could potentially mimic our site, deceiving users into sharing sensitive information. By keeping the client_secret for server-to-server communication, you safeguard it from exposure.
You receive a JSON response containing an access_token key. This token lets you request user information from Google, such as their email address.
Your Website's Server Gets the User's Info
Use the getUserInfo helper function, passing in the newly acquired accessToken.
Inside getUserInfo, send a request to Google's userinfo endpoint, attaching the accessToken with a Bearer prefix in the Authorization HTTP header. A successful response comes back as JSON with the user's email.
For the demo, the server simply return the userInfo received from Google. In an actual application, this email could be used to authenticate the user, creating a session for your service.
Jargon
This guide uses informal terms like "user," "the server," and "Google" for simplicity. However, in OAuth documentation, you'll encounter standardized names for these entities.
Resource Owner: The entity whose data you're accessing, referred to as "the user." This is who owns the email address you're attempting to acquire.
User Agent: Known in the guide as "the browser." It's the interface through which the resource owner interacts with your application. Other examples include mobile apps and CLI terminals.
OAuth Provider: In the example, this role was filled by Google. The OAuth provider facilitates the OAuth authentication flow, managing your
CLIENT_IDandCLIENT_SECRET, and hosting the consent screen. Facebook, Microsoft, and GitHub are other examples.Client: This term describes the web server. It's the entity seeking access to the resource owner's data.
Authorization Server: A component of Google that issues the authorization code and allows you to exchange that
codefor anaccess_token.Resource Server: The part of Google that returns user information, such as email, provided you have a valid
access_token.
Conclusion and Next Steps
You've built an OAuth client using the authorization code grant type. However, should you develop your own OAuth client from scratch? Generally, no. Subtle bugs or novel exploits can introduce serious security risks. Instead, opting for well-tested, open-source OAuth clients is a safer choice.
Understanding the inner workings of an OAuth client is important. It gives you knowledge about the configuration options available in open-source libraries, helps in troubleshooting OAuth-related issues, and makes learning other OAuth flows like refresh, PKCE, and implicit a breeze. You're also in a great position to learn about OpenID Connect (OIDC); a protocol built atop of OAuth.
In the next walkthrough, you'll explore OIDC—what problems it addresses and the minimal code adjustments needed to support it. Stay tuned!
Craft your own walkthroughs
Want to create educational walkthroughs like this one? Head over https://annotate.dev and create an account. Free for individuals and an affordable plan for teams!
How it works
Create a walkthrough in three easy steps.
Upload
Upload or copy your code sample that you want to explain into Annotate.
Annotate
Highlight code and add markdown notes for clarity. Guide readers through your code with a step-by-step walkthrough.
Publish
Make your walkthrough public. Share a unique URL or embed it directly into your application.
Embed inside your React application
in under a minute
Annotate seamlessly embeds into any React application. SSR and RSC compatible.
Embed a walkthrough in under a minute with `@annotate-dev/react`
Alex YakubovskyEasily embed interactive walkthroughs into your Next.js, Remix, or React application with @annotate-dev/react. The library includes TypeScript typings and supports React Server Components.
Install the Annotate React SDK
In the root of your React app, run npm install @annotate-dev/react to install the SDK.
Include Annotate's CSS
Import styling from @annotate-dev/react/style.css. The CSS file is designed to not clash or overwrite existing styles you already have.
Fetch your walkthrough data
For client side only React applications, fetch your walkthrough data by calling the getWalkthroughData function inside a useEffect hook. When using a framework like Next.js or Remix, call getWalkthroughData on the server side.
Render the walkthrough component
Wrap the WalkthroughView component in an element with a defined width and height. This is required because WalkthroughView will use the full dimensions of its container.
After you have fetched the walkthrough data, render the WalkthroughView component and pass the data as a prop.
Display a loading state (optional)
The @annotate-dev/react library includes a <Skeleton /> component to represent a loading state. You can optionally render this Skeleton while fetching your walkthrough data, providing a visual indicator to users during data loading.
Turn passers-by into users
Get passive readers to find their aha! moment quick. Create walkthroughs that clarify how to build with your product's API. Simplify the learning process and boost conversion rates.
Create material that your students love
Annotate code from a single line to entire blocks. Create explanations that match your students' learning pace—from in-depth analysis of a single line to a quick overview of a code section. Help your students understand better, in the way that works best for them.
Pricing
Free
Ideal for individuals
- Publish unlimited walkthroughs
- Unlimited viewers
- hosted on annotate.dev
- Limited support
Pro
Ideal for teams
- Everything in free
- Embeddable or hosted on annotate.dev
- Includes 3 seats
- $10/mo for additional seats
- Priority support
Contact us
Have any thoughts, questions or concerns? We'd love to hear from you.
